Sunday, July 27, 2014

Adding Some Character: Part Two


So the kitchen wall paper project extended itself to doing some trim work in the hallway and around our front door.  My contractor, John took the left over chair rail and crown molding from the dining and office room projects and made a trim around our front door. Thanks, John for your creativity!


Next, I thought it would look funny to have the chair rail stop in our kitchen. So we added chair rail along the hallway. At first I thought I should have done some wainscoting but I had to stay true to the "feel" of my house. Although wainscoting is beautiful, I think our hallway is too narrow for such detail, especially for the cost.  I'm debating if we should add the wainscoting to our stair case. The idea of adding it there is to make our entry way more dramatic. But then again, I have my boxes on either side, and plan to find a really nice wall paper or even some fabric to put inside the boxes.  So, we'll see…

Enjoy the pictures below…and Happy building and decorating!
Picture of our hallway before paint,chair rail, and plantation shutters on our sidelight windows.


Paint complete, chair rail, and plantation shutters installed.  Note, I do know that my picture is too low on the wall, I have since moved it up.
Here is a close up of John's trim work over our front door!
Here is a few from upstairs, along with a glimpse of our window above. 

Speaking of my boxes, we completed these last October…but after painting them, they now pop! My next project is to take care of the foyer window. I'm in between do I just trim it or actually put a treatment there?  My gut says to do both…doing an apron  (or as I also knew it, placing a sill below the window) at the bottom and then a treatment at the top, what do you think?

Here is a picture of the boxes from our upstairs. 
Close up of our box, I plan to wall paper or put  a stretched piece of fabric. 


Friday, July 25, 2014

Adding Some Character: Part One


The worst part of new a construction home is the lack of character. When we bought our house we did not select the trim package; as a matter of fact, we purchased our house with very little upgrades. 

In our model, the Savoy, the entry from the garage brings you directly into the kitchen.  We never use our front door to enter our house.  So, therefore, our walls were taking a beating.  I knew that even with getting rid of the builder grade paint, my walls would look bad again.  So, what could I do?  My contractor suggested wall paper on the bottom half of the wall.  I pretty much nixed his idea and thought I would do bead board or wainscoting. But after thinking it through, I thought bead board would be too "farm/country" of a look for my kitchen. My style of decorating is transitional--a mixture of traditional and contemporary.

Wainscoting is lovely, but the angle of our kitchen wall would make it pretty hard to do. So, I went back to the wall paper idea, and visited Atlas Wall Paper and Paint in Cherry Hill, NJ.  I met with Michael (a wonderful designer) and he immediately showed me this vinyl, durable, textured wall paper. All I can say is I'm very pleased with the product.  I selected to add chair rail to act as a boarder and to add some character too.  Below, see our before and after shots.  I can say that our "vanilla" builder grade house is finally starting to feel like my home!

Happy building and decorating!
Here is the sample of the wall paper against our selected wall color, Sherwin Williams Accessible Beige. 

Our kitchen wall before.


Here we have the wall in progress picture.  We chose a textured, vinyl wallpaper.  My friends at Atlas Wallpaper in Cherry Hill, NJ helped with the selection.  Pictures don't do it justice…it's a bronze color and it's really beautiful in person.


No chair rail yet and the brown shoe molding is still there.
Next we added chair rail. We also pulled up the brown shoe molding below. 

Here is a close up of the white shoe molding. 


Then we added some accessories.  I went "shopping" in my house and moved these pictures from my bedroom into the kitchen.
Final product…white shoe molding added.

This is the wall directly in front as you walk into the kitchen from the garage. 


The photo is a little dark, but this is the view from the morning room. into the kitchen/hall.


And here is the final look of the entryway from the garage into the kitchen.


Wednesday, June 18, 2014

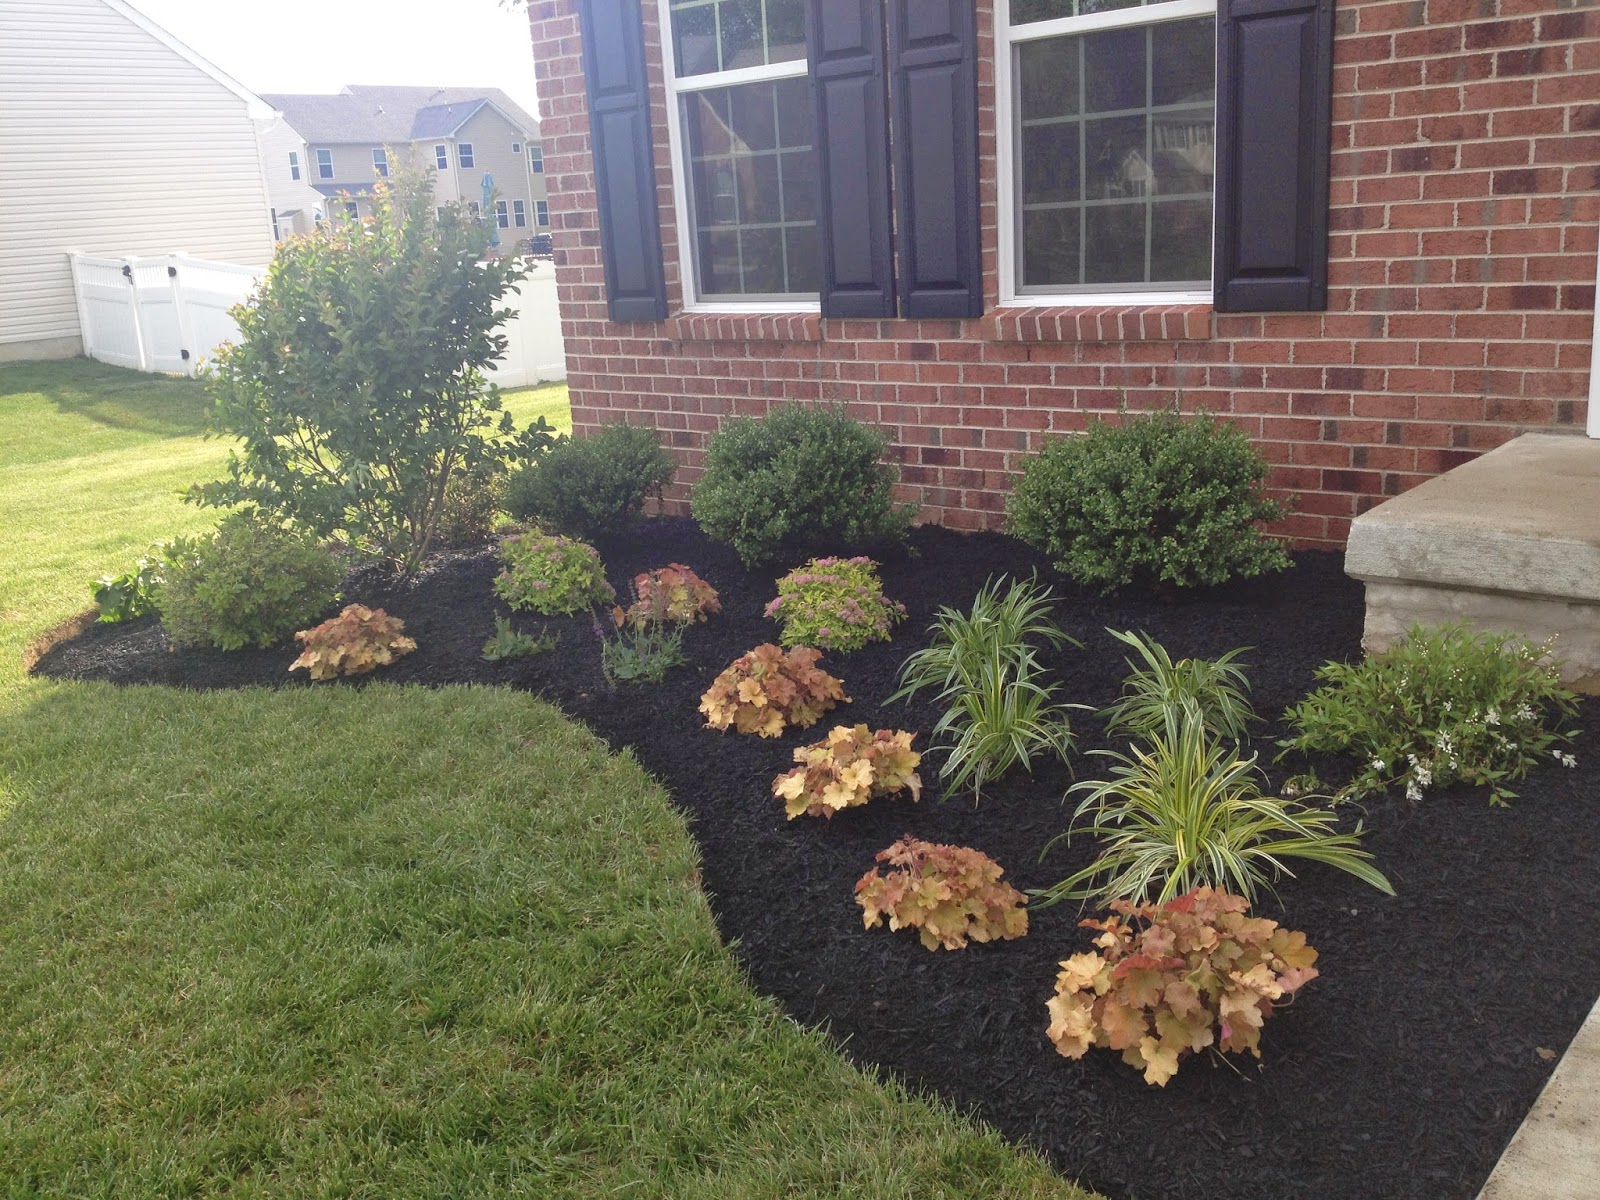
Curb Appeal!


 So grateful to SLS lanscaping for making our front yard look great! 


Tuesday, June 3, 2014

More Ryan Woes

Hi everyone,

We're now gathering bids to finish our basement. So far we've had two people come out and we're waiting for a third on this Friday.  The first contractor that came out informed us that Ryan installed our 3 piece rough-in WRONG.  Can you tell me how annoyed I was to hear this information?!? First, we paid $300 for a home inspector who MISSED this issue, and the ENTIRE reason we paid $1500 for the 3 piece rough-in was to avoid additional cost when we decided to finish our basement.

In addition to the rough-in problem our stoop is literally crumbling.  We had our Ryan rep come out to take a look and he claims it is from us putting salt on the concrete.  My astute husband questioned, well, if salt did that to the stoop, is the sidewalk and walkway material different from the stoop? Because he pointed out that we used the same material on the sidewalk, walkway, and stoop and the other items are not crumbling.  Remember Arsenio Hall's skit…"things that make you say, Hmmm?"  Well, we were informed by Ryan that they'll put some compound on the stoop (but they can't give a date when) to smooth out the surface.  The Ryan rep, Steve Herring said, just to let you know, my manager looked at the stoop and he agreed with me that it was salt. Whatever, dude!  Just fix it so it looks better than what it looks now. As far as the 3 piece rough-in…they subcontractor that did the work for Ryan is coming out on 6/13.  We also need the floor subcontractor to come out AGAIN to replace some of the floor planks and  to replace the damaged baseboard.

Now in hindsight, I'm really regretting doing new construction.  Our walls are bumpy, the seams suck, and the sub floors really stink in this house.  Initially I thought we'd be here until my daughter graduates from high school…not too sure about that now.  We may be moving out of this house sooner than we thought, but we'll see.

Now onto some fun stuff…my side light shutters were installed today!  They look great, and definitely provide privacy.   We are still painting. The family is now finished.  We're wall papering our kitchen/garage entry way hopefully this weekend. Once the project is complete, I will do a post. We are getting landscaping tomorrow.  Can't wait to have the curb appeal updated.

Family room is painted...Sherwin Williams Accessible Beige. 


Thursday, May 29, 2014

Stairs

We had our runner installed last night.  I was a little nervous of how I would like the pattern, but I have to say I not only like it, I love it! When we first moved in I thought I didn't want to compromise the steps by putting carpet over it. But having a toddler changes things, it's all about safety! Now that we have carpet on the steps, I don't know how we lived for almost two years without it.

We are still in the midst of other home improvements, so stay tuned for more pictures to come.

Here is the runner.  Again we went with Smart Carpet, a Costco vendor.  We paid $862 for the carpet, binding and installation.  I also received a small runner for my hallway, all included in the price above.  The carpet we chose is by Milliken and the style is Modern Flair, Nickel.  The carpet is nylon and has a basic pad underneath.


Wednesday, May 28, 2014

My Wreath Project

Now, I'm not Colette of "Moving to the Country" but I did try my hand at making a wreath for our front door on my own. To my surprise, I enjoyed doing it too!

For what seems like forever, I've been searching for the perfect wreath and didn't find it until I went on Etsy.com. BUT I didn't want to pay the price of nearly $100. So, I did some research and found out that I could easily duplicate the wreath.  So here is what I did:

I went to Michael's, which lucky for me has an 35% off coupon  that week, and I got the following:

  • Three 6 ft vines of artificial boxwood leaves (it is plastic, better to have this over silk for the elements). I paid  $11.99 per vine (all prices below show the coupon discount).
  • One wire wreath frame at 16 inches for $2.99: http://www.michaels.com/search?q=wire%20wreath
  • One Fleur De Lis wreath hanger for $4.99
Then I found the other items at Kirklands and Home Depot:
Total savings for doing it myself is $40.00!

Here is a comparison of my wreath (on the right) to that of Etsy (on the left):

Here is a full door view:


Friday, May 16, 2014

PAINT!

What a difference paint makes!  It's been almost 2 years, and we finally started  to paint our house. We waited for the year nail pops and for seam repair work. We're painting one room at a time.  But here are a few pictures of our rooms; the office and the dining room.  We also changed out the light fixture, added molding and chair rail--bye-bye builder grade!  It's hard to see in the picture, but our office is Sherwin Williams, Repose Grey and our dining room is Comfort Grey.  The dining room in person is more of a green-blue grey and the office is a traditional grey.  One of these days I will break out my professional camera opposed to using my iPhone.

Stay tuned for more fun pictures to come as we continue to paint. Happy building and decorating everyone!